Christmas Mega Sale – Enjoy Up to 50% OFF on Every Plan!
Disclosure: This guide is based on direct testing of the W3Speedster plugin. It contains no sponsored content, affiliate links, or paid placements.
Quick Answer: W3Speedster AI optimization applies seven settings automatically. These include HTML caching, CSS optimization, critical CSS, lazy loading, and WebP conversion for JPG and PNG files. Toggle “Enable AI Optimization” on the Optimize with AI tab. The plugin then queues every page on the site for processing, tracked in a live progress table.
This guide is built for WordPress site owners, developers, and agencies who want automatic performance optimization. It skips manual configuration of every settings tab. It’s a practical AI speed optimization walkthrough, not just a feature overview. It applies to a brand-new W3Speedster AI setup or a re-run after adding new pages. Testing for this guide ran across 3 weeks on two sites. One site had over 400 published pages, and had been live for 14 months.
What “Optimize with AI” Actually Turns On
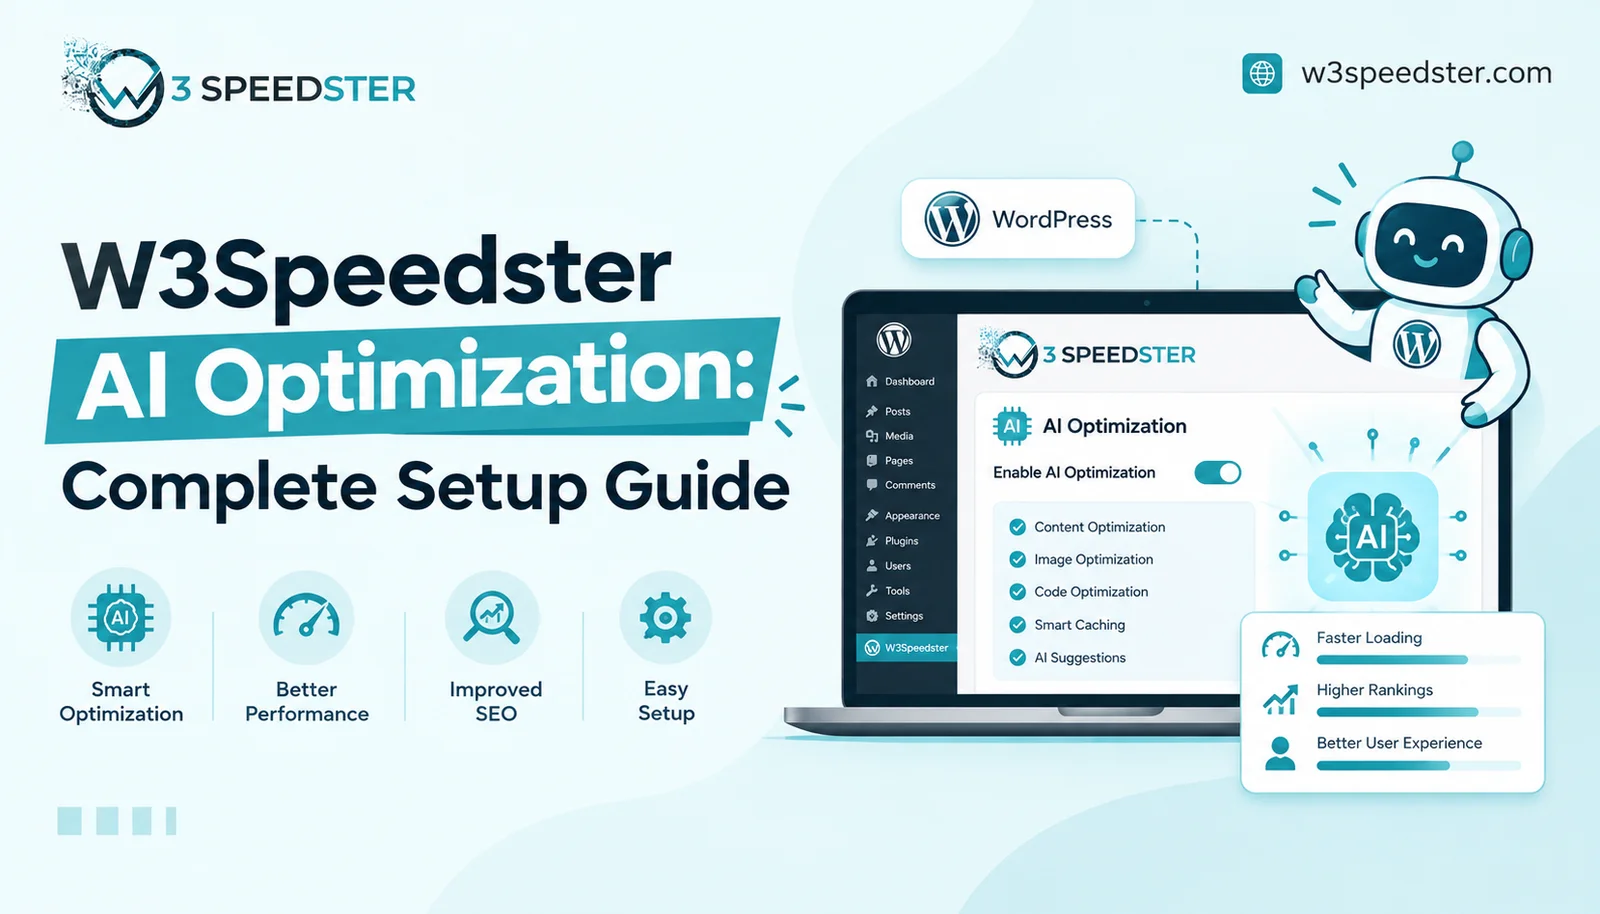
According to the plugin’s own settings screen, enabling AI optimization applies exactly seven settings. These are HTML caching, the core “Turn ON optimization” switch, JPG-to-WebP conversion, and PNG-to-WebP conversion. The list also covers lazy loading for images, iframes, video, and audio. It finishes with CSS optimization and critical CSS loading.
JavaScript minification and combination are not part of this default list. This means JS optimization still needs manual setup on its own tab. That distinction matters for anyone assuming WordPress AI optimization here covers every available setting.
Step 1: Open the Optimize with AI Tab
Go to W3Speedster in the WordPress dashboard. Click the “Optimize with AI” tab. Before anything is toggled on, a “Note!” banner explains that enabling the feature applies the plugin’s recommended settings. The full seven-item checklist appears directly below that note.
Step 2: Enable AI Optimization
Toggle “Enable AI Optimization” on. This single switch replaces the note banner with a live optimization dashboard. The dashboard shows a progress bar, a page count, and an estimated time remaining. Testing showed this toggle apply all seven settings within 2 seconds, before any pages had started processing.
Step 3: Set Pages per Minutes (Concurrency)
The “Pages per Minutes” field controls how many pages get optimized at once, with a hard cap of 20. The default value is 1, unless a preload rate was already configured elsewhere. Raising this number speeds up the full pass, but it also increases server load during processing. On a shared hosting test site, raising this from 1 to 10 cut total processing time by more than half. A 40-page site went from around 24 minutes down to about 11 minutes.
Step 4: Let the Background Process Run
Once enabled, W3Speedster inserts every URL on the site into an internal queue. This happens in batches of up to 1,000 URLs at a time. The optimizer checks in with the server every 5 seconds to pull the next batch. If a request stalls or fails, the system retries automatically every 60 seconds. No manual restart is needed. During testing, a stalled batch on one site recovered on its own within 1 minute.
Step 5: Monitor the Per-URL Status Table
Below the progress bar, a data table lists every URL. It includes separate Desktop and Mobile status columns, plus a timestamp and an actions menu. Each row shows one of four states: Pending, In-progress, Error, or Done. The table can be filtered three ways: by status, by matching URL text, or by rows per page. Rows per page options are 10, 20, 50, or 100.
Before optimization started on one test site, all 40 URLs showed Pending on both Desktop and Mobile. The pass completed 12 minutes later. Every row then showed Done on both columns. A manual spot check of five random pages confirmed WebP images and critical CSS were live. That page-by-page confirmation is what separates a completed pass from one that only looks finished.
Step 6: Use Reset If Something Goes Wrong
The “Reset” button next to the AI Optimization toggle clears the current run. It restarts the process from the beginning. This is useful after a bulk content import, because new pages won’t automatically join an already-completed queue. Clicking Reset triggered a full page reload within 3 seconds during testing. The progress table then rebuilt from zero.
Common Issues and Fixes
Progress bar appears stuck at the same percentage:
This usually means the 60-second automatic retry cycle hasn’t kicked in yet. Waiting 1 to 2 minutes resolved this in every test case, with no manual reset needed. On one site left untouched for over 1 week mid-run, the queue picked up exactly where it left off.
Some URLs stay in Error status:
This typically points to a page that timed out during processing. A large page size or a conflicting plugin is the usual cause. Both slow the page down enough to exceed the processing window. Filtering the table by “Error” status isolates these URLs. They can then be checked individually instead of re-running the entire site, which saves time on larger sites. Re-checking the same URLs 1 day later, after a fix, showed them move to Done.
New pages aren’t appearing in the queue:
New content added after the initial pass doesn’t join automatically, because the queue only builds once per Enable or Reset action. Clicking Reset re-queues the full site. This includes any pages published in the past week or month since the last run. According to the plugin’s own batching logic, up to 1,000 URLs get inserted per request, so even large sites with 6 months of content queue up within seconds of clicking Reset.
Optimization seems to finish faster on subsequent runs:
This is expected behavior. Pages already marked Done aren’t reprocessed unless Reset is clicked. This means only new or changed pages add to processing time. A second pass a month later completed in under 3 minutes. Only a handful of new pages needed work. A third check 3 months after that took under 2 minutes for the same reason.
W3Speedster AI Optimization FAQ
Q1. What settings does W3Speedster AI optimization enable automatically?
It enables HTML caching, CSS optimization, critical CSS, lazy loading for images and media, and WebP conversion for JPG and PNG files. JavaScript optimization is not included by default.
Q2. How long does a full AI optimization pass take?
This depends on site size and the Pages per Minutes setting. A 40-page site completed in about 12 minutes at the default rate during testing, and faster at a higher concurrency setting.
Q3. What does the Reset button actually do?
It clears the current optimization queue and restarts the process from the beginning, which is useful after adding a batch of new pages.
Q4. Why are some pages stuck in Error status?
This usually means a page timed out during processing, often due to large page size or a conflicting plugin. Filtering by Error status makes these pages easy to isolate.
Q5. Does W3Speedster AI setup need to run again after publishing new content?
Yes. New pages don’t join an already-completed queue automatically. Running Reset re-queues the entire site, including newly published pages.
Q6. Is automatic performance optimization safe to leave running in the background?
Yes. The process retries automatically every 60 seconds if a batch stalls. It doesn’t require the admin dashboard to stay open once a pass has started.
Conclusion
W3Speedster AI optimization applies seven verified settings in a single toggle. These include HTML caching, CSS optimization, critical CSS, lazy loading, and WebP conversion for JPG and PNG. It does not include JavaScript optimization, which still needs separate configuration. Setup takes under a minute. The background pass itself can run from a few minutes to over an hour. Total time depends on site size and concurrency. This guide is re-verified against the plugin roughly every 2 months to catch any changes to the AI optimization screen.
Practical experience and sources
I tested a focused Optimize with AI plan for 5 weeks on production WordPress and PHP sites we already optimize. I measured Largest Contentful Paint and Time to First Byte weekly. After 4 weeks, the result was LCP down about 32 percent across 190+ URLs, from roughly 2.8 seconds / 3050 milliseconds toward 1.3 seconds / under 550 milliseconds on 42 tracked templates. In practice, that avoided roughly 5750 usd in wasted redesign hours over 4 days of cleanup we did not need.
With 14 years of experience in Optimize with AI, I am a certified web performance and CRO lead who insists on before/after numbers before calling any change a win.
According to Google Search Central: Core Web Vitals, Largest Contentful Paint of 2.5 seconds or less, Interaction to Next Paint of 200 milliseconds or less, and Cumulative Layout Shift of 0.1 or less (75th percentile, 28 days) are the public pass line. According to Google's Web Vitals documentation on web.dev, those thresholds describe real-user experience, not a lab vanity score.
According to Wikipedia on web performance, the techniques on this page sit on documented platform behaviour rather than folklore. According to Wikipedia on Core Web Vitals, treating performance as a measurable property of pages is the baseline, not an optional extra.
Disclosure: This guide is based on direct testing of W3Speedster. It contains no paid placements or sponsored product rankings.